Charlie called shotgun for the first drive lol.
Wednesday, 11 March 2015
Radiator Reposition
We quickly realised the nose wasn't going to fit over the radiator where it was so dad chopped off the bracket we made then with some faffing figured out where it could sit with the nose on and made a new bracket. Looks snug but fits ok now. Also got the mesh on the nose cone now which is hard to photograph but looks ace on real life.
Friday, 6 February 2015
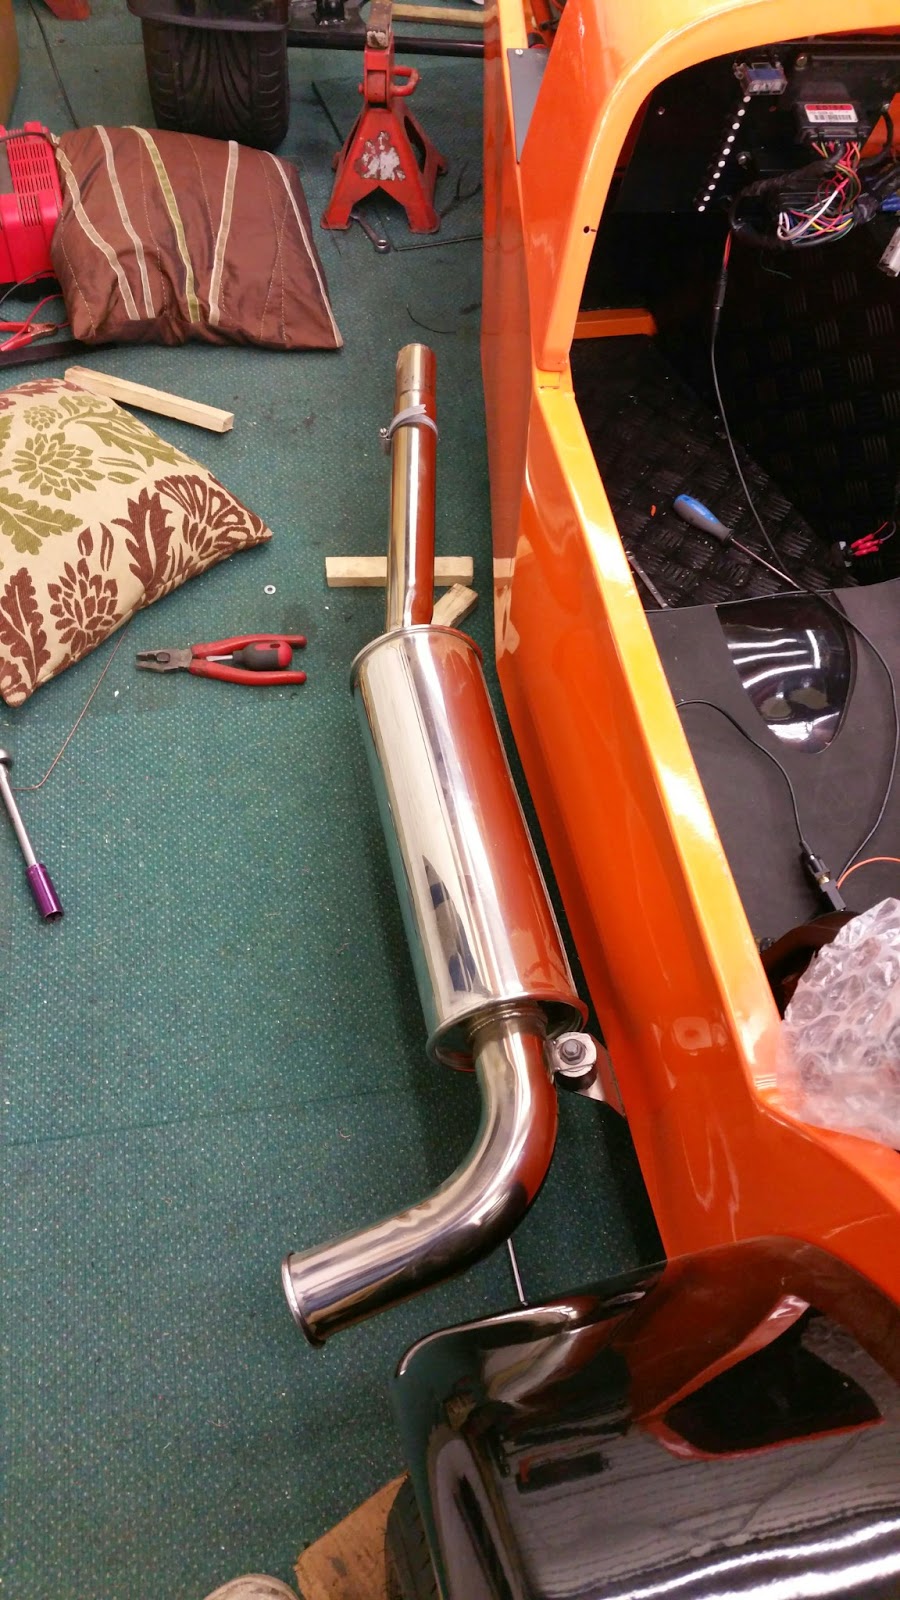
Exhaust
Started on the Exhaust at last decided we're going to make a mild steel one for now and maybe look into a stainless one later after IVA. Figured out we need two 90 degree bends and a short length of straight we also need a CAT too. We have to make it split to get it through the bodywork and up to the manifold. We used the support that came with the exhaust and drilled through the chassis then bolted it on so its really strong.
Tuesday, 3 February 2015
Drivers Side Panel On & Other Bits
Finally tackled the drivers side panel we've been putting it off because we thought it was going to be a pain in the arse to do as the fit of the panel was bad and needed a bit of work to make it fit. Any way in the end we cut a piece of the bottom lip off to allow the panel to sit on the chassis better and then siliconed the hell out of it to stick it on. We used some bolts too for extra support but the silicon stuff is bloody brilliant really so it's nice and solid.
We weren't too happy with the old wiring as it looked a bit messy and needed sorting so dads been busy re wiring and made a great job of the new fuse box, ECU etc. It will all hide away nicely under the scuttle.
Battery in hidden away nicely and as low down as pos for better centre of gravity (don't think we would notice any difference if it was higher really but makes us sound like we know what we're doing lol)
Saturday, 31 January 2015
Bonnet and Nose
Looks like a proper car now! just plonked it all together for now to see how it looks and its looks ace. That's it now for the main bodywork just need an aero screen to sit on top of the scuttle but that is just cosmetic really so it can wait for now.
Thursday, 8 January 2015
Rear Wings
We have managed to put one side on for now the side panel for the drivers side has been a bit of a pain so we'll do the wing once that's on. We used silicon seal and used the rivnut things to screw them on it feels really strong now it is all fastened up. We need to polish the crap out of it because it is a bit scruffy but that's how we received it hopefully we can get it looking nice.
Monday, 5 January 2015
Front Wings
Got hold of some edge trim for the front wings so put that all the way around on each one. Dad finished the wing stays and had them powdered. Put them in place and used some silicon seal stuff to get them in the right position then fiberglassed them on so they're good and strong.
Tuesday, 28 October 2014
Bodywork
Had the side panels and rear arches made so we can get on with putting it all on now. The rear was straight forward enough. It did'nt fit perfect because of our bends on the rear tub but its on now looks good and is solid so its fine. We are battling with the side panels at the moment because i think they're designed to go on without the floor been on first so having to bodge it slightly and stretch them over the floor as well.
(More Pics coming soon)
Subscribe to:
Posts (Atom)