Wednesday, 5 February 2014

Water Plumbing (engine to rad)

Bought some silicon tubes from eBay and dad got hold of some stainless pipe for the water plumbing. Originally we were going to bend the pipe but had a quick look on eBay and the silicon tubes were cheap enough so went for them instead. We're going to fasten the pipes onto the chassis with a couple of clips later to give them some support.


We realised we had bodged up a bit with where we mounted the engine because when we made the mounts we didn't have the thermostat housing on! So when we tried to put it back on later with the engine mounted, it wouldn't fit because it is too close to the chassis D'oh! Dad made this one instead which is a bit of a mix and match of pieces but should do the job nicely.


Bought this header tank from eBay too £35 its really nice and is perfect for what we need. Going to get some silicon tubes to get this plumbed in as well.


Monday, 30 December 2013

Busy Day

Had a full day working on the car today for the first time in a while. We managed to get quite a bit done and things went well for a change so that was a bonus :)

Aligning the wheels Dad managed to find some spirit levels with laser pointers on to line things up. We started on the back and used the wheel stubs to get a flat level starting point then used the laser to mark a piece of wood on the floor and one above running across the rear tub. This gave use something to measure so we knew when we adjusted the uprights we were doing it right. The back only has one adjustment so it was just a case of getting each side level and matching. The front was easy too really, we made a mark on the garage door to show what we were aiming for on the front. We adjusted the top ball joint first to get it level then adjusted the steering end to match up with the back wheel so we knew they were pointing straight forward and finally tightened it all up. We might have to do a bit of tweaking when the wheels are back on but its a good start.


Bought some new spark plugs from Halfords and plonked them in the old ones looked like originals and a bit tired.


Topped up the gearbox oil nice and simple plug out - oil in.

While we were on a role we had a crack at the scuttle. Had to cut two pieces out for the steering support and for the steering column. We measured and drilled holes on the scuttle the popped it on marked the holes took it off and drilled the chassis and used some riv nuts so we can take it off when we need later. Bit of a faff to screw them in but once they were in it made the panel really solid.


Had to have a go and see what it looks like with that on lol :)


I bought a gear knob a while ago so thought i might as well put that on too.


Dad had already made this bulk head bit but we didn't know where the scuttle would come to so had to chop it back a bit to match it.


Monday, 2 December 2013

Scuttle Panel

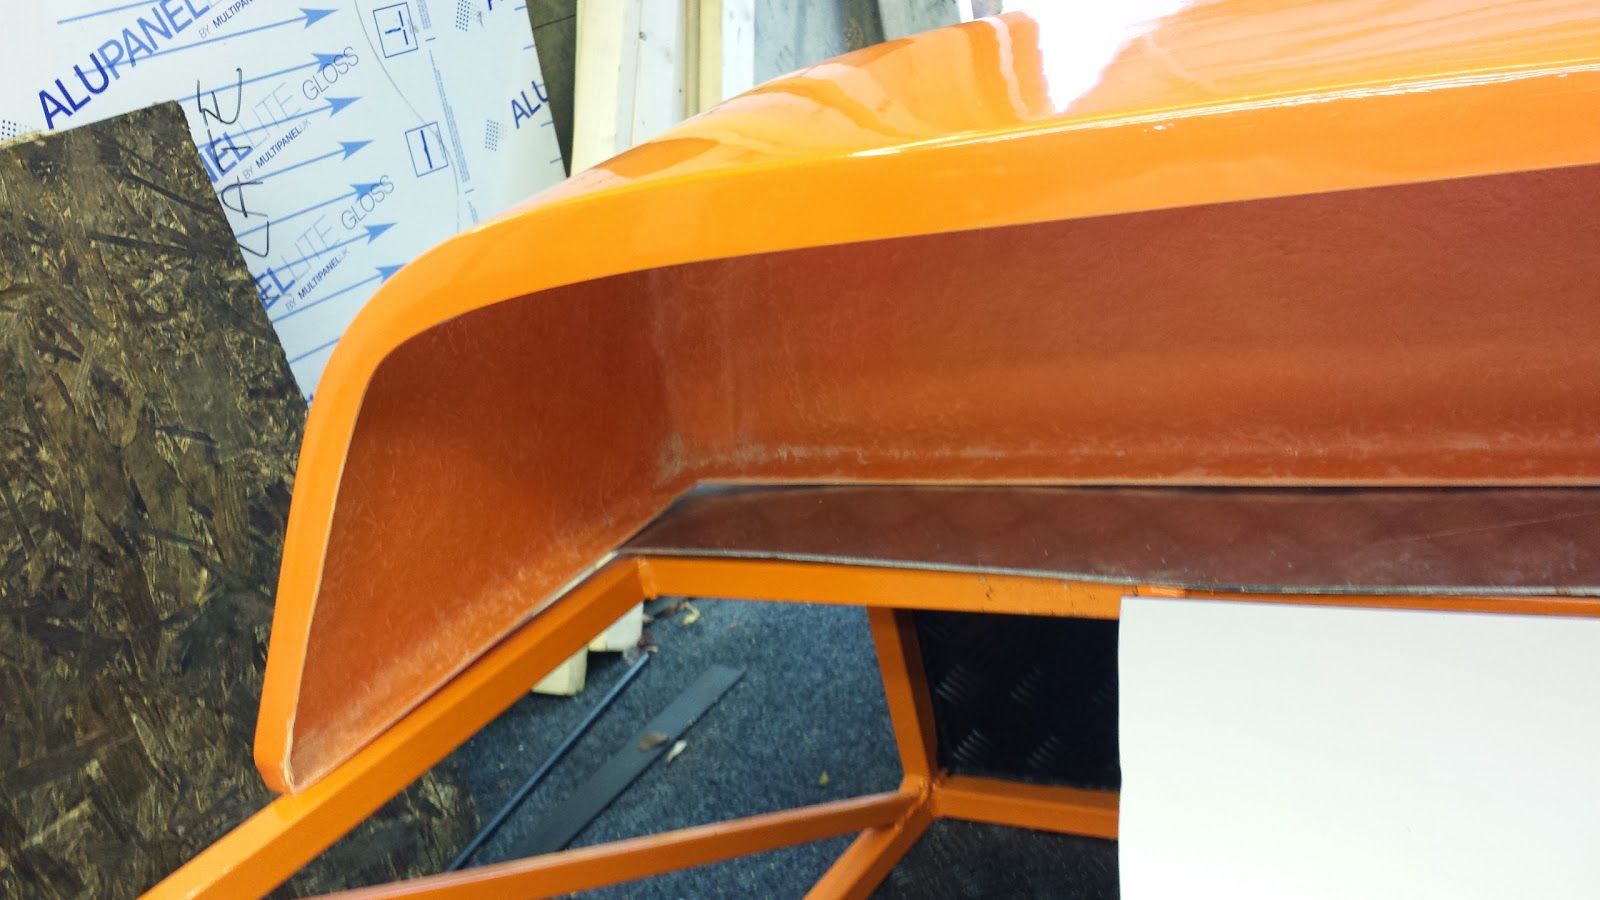
First bit of body work! really pleased with the quality from AGM Sports Cars the colour is perfect too after panicking I had got it wrong lol the colour is RAL2009. We're going to have to cut it a bit to fit over the steering column.


Fuel Pump

Bought the fuel pump from eBay £40 and managed to get it fitted. We used some old fan belt to insulate it. All looks nice and tidy ready for the fuel tank!


The pipe overhangs on the back a bit but shouldn't be a problem.


Also managed to get the wiring loom tied up ready for the lights, pump and fuel sender unit.


Thursday, 14 November 2013

Fuel Filter

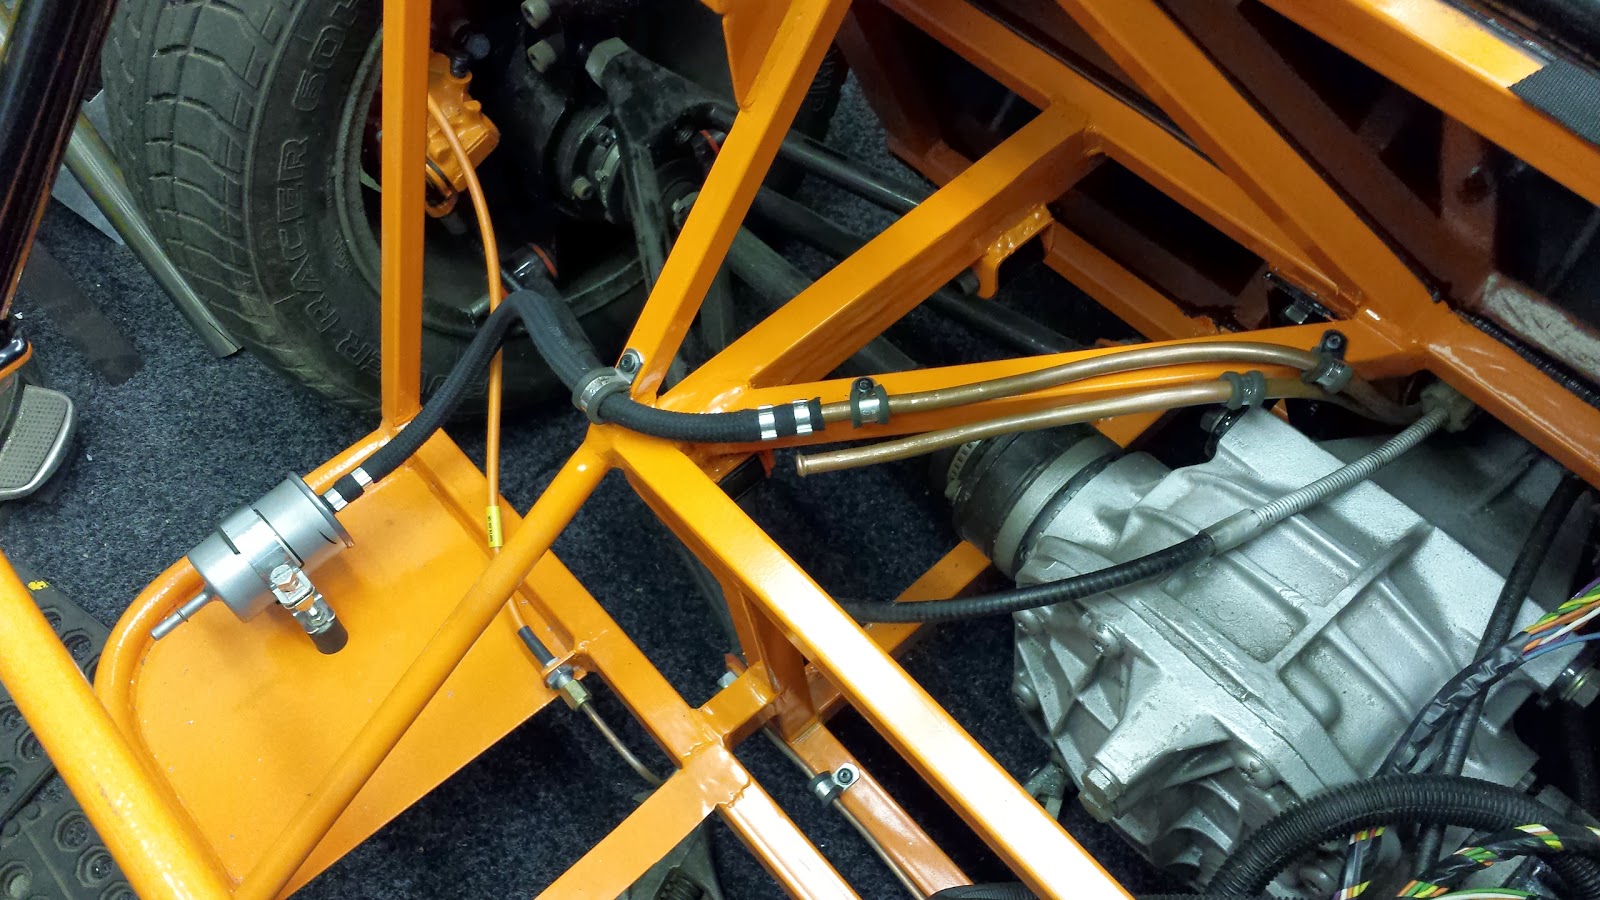
Plumbed in the fuel filter and made the return pipe ready for when we have a fuel tank in. Straight forward job just had to make sure we have enough room to make a U bend with a piece of flexi pipe for when we get the fuel pump in which is going next to the filter.


We flared the ends to give a better seal on the flexi pipe.


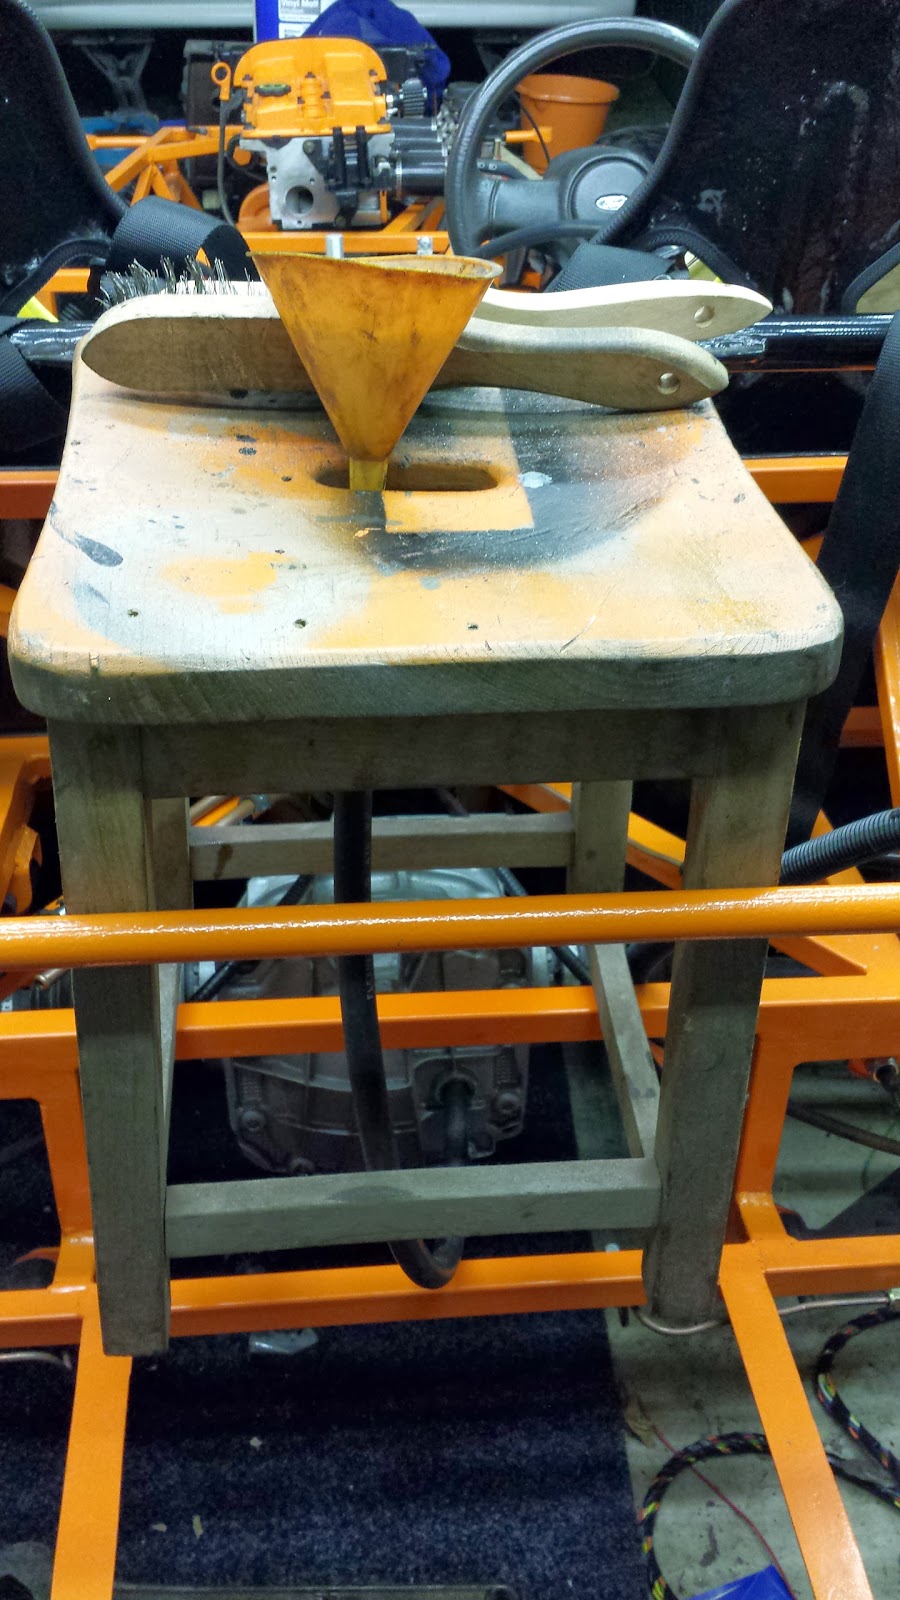
Also put the engine oil in and the diff oil in too which took forever so we rigged up a holder lol.